Availability Per Account Type
Trial
Lite
Pro
White Label
WL – Custom
Feature Description
This simple process needs to only be performed once. Once added, your EZWebPlayer Video Sitemap and Google Webmaster Tools will work together to hand you extremely valuable viewer data. Making this connection yourself can save you hundreds of dollars a month in third party agency fees. Yes, this tool is that valuable.
Watching a couple of well-made YouTube videos on how to make use of Webmaster Tools once you’ve made this valuable connection will bring you up to date on the basics and even advanced functions of taking control of making your video web site grow and return value for your marketing efforts.
Add Your Website To Google Webmaster Tools
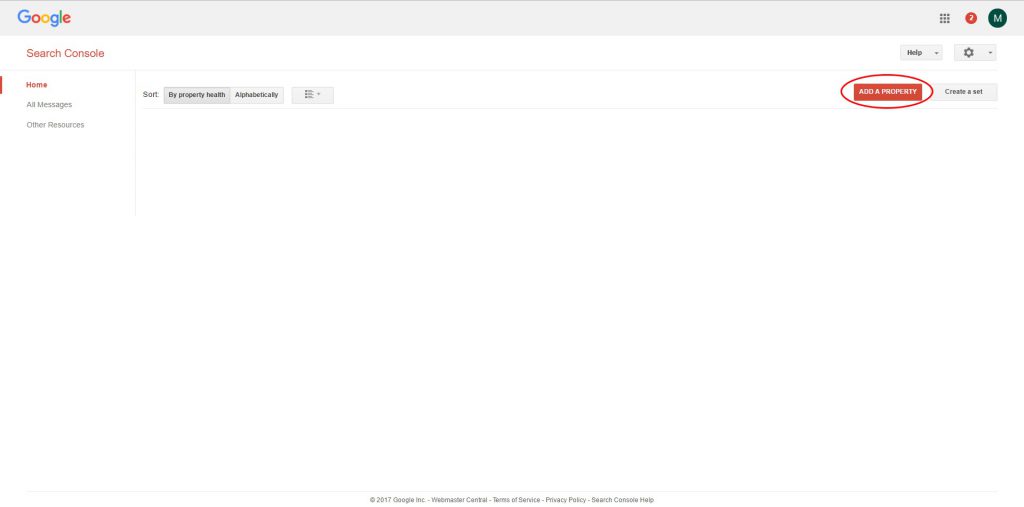
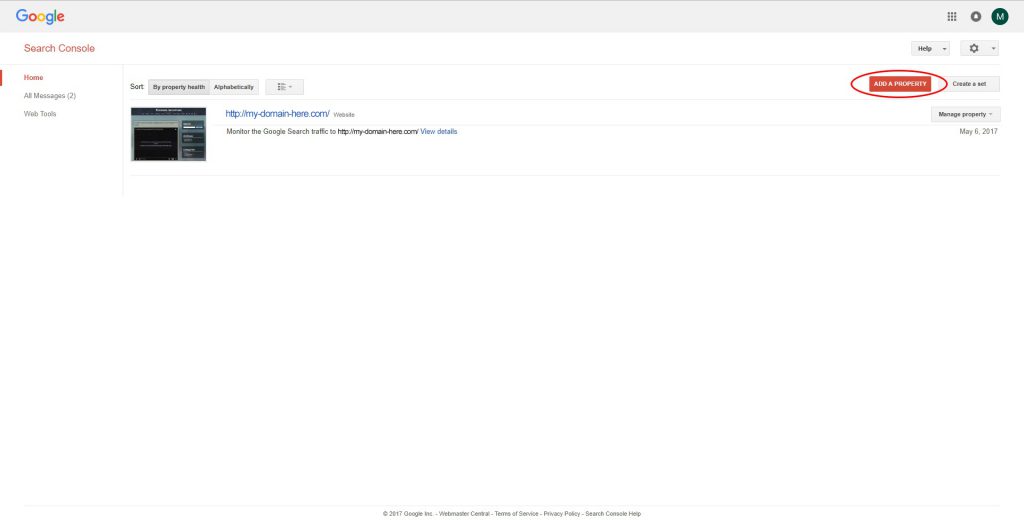
Step 1. Go to Google’s Search Console. Click on the ADD A PROPERTY button to add your website to your Google Search Console account.
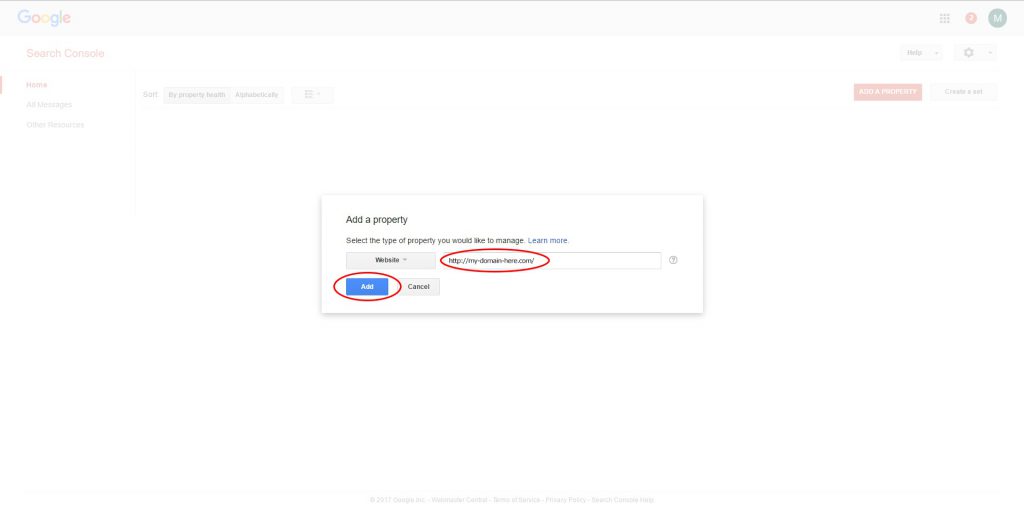
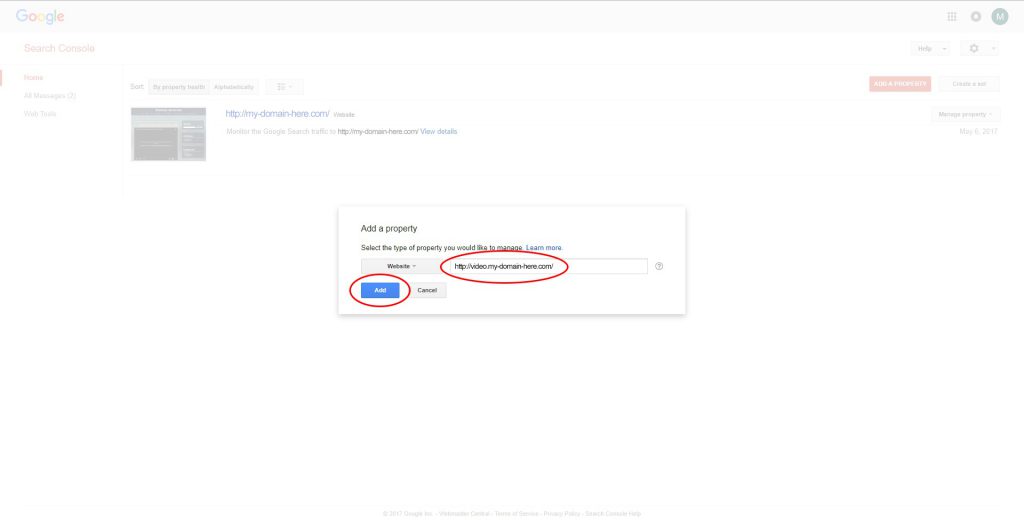
Step 2. Type in your website’s URL. Then press the Add button to add it to your account.
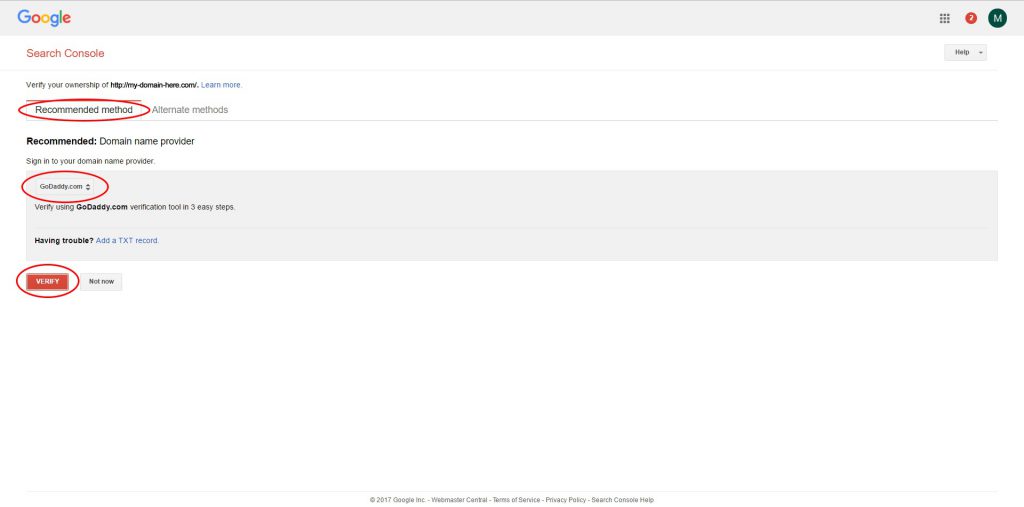
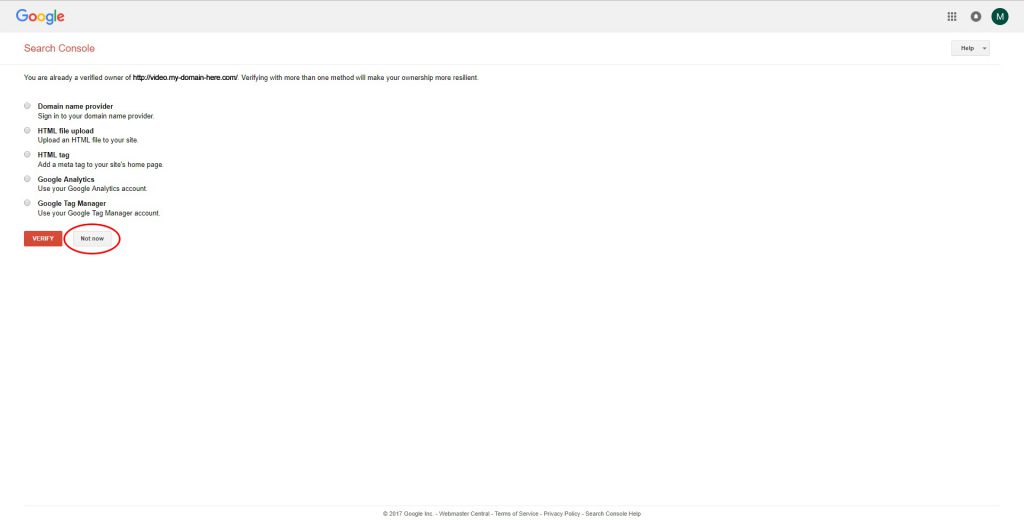
Step 3. You will need to verify that you own the website. We used the Recommended method. Our sample website is hosted with GoDaddy so we selected GoDaddy as the website host. Click VERIFY.
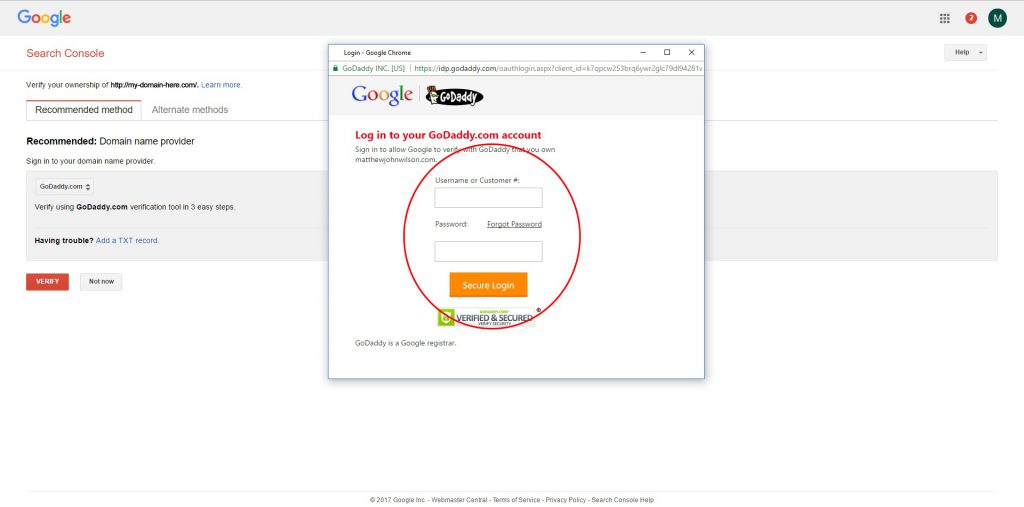
Step 4. Log in using your GoDaddy’s account credentials to prove you own your website.
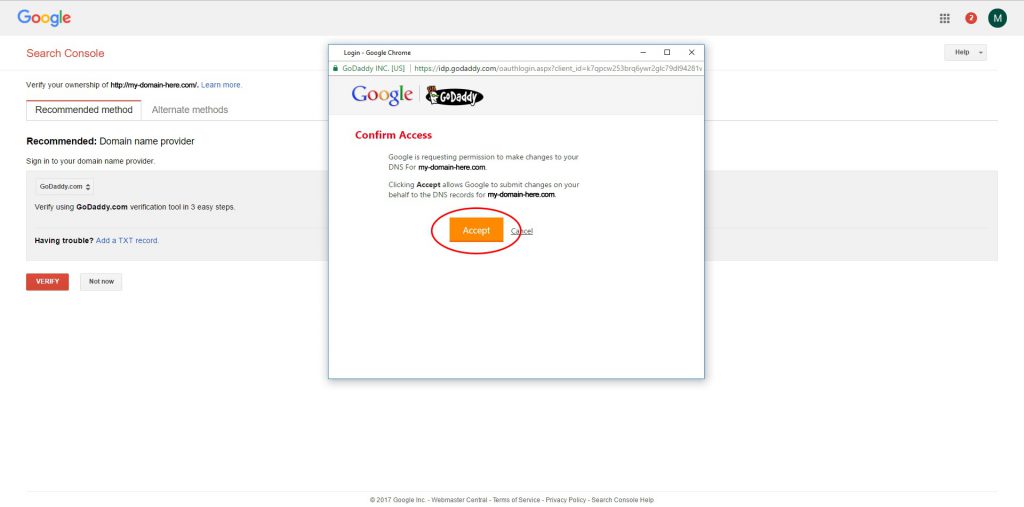
Step 5. Once logged in, click Accept to allow google to verify your website.
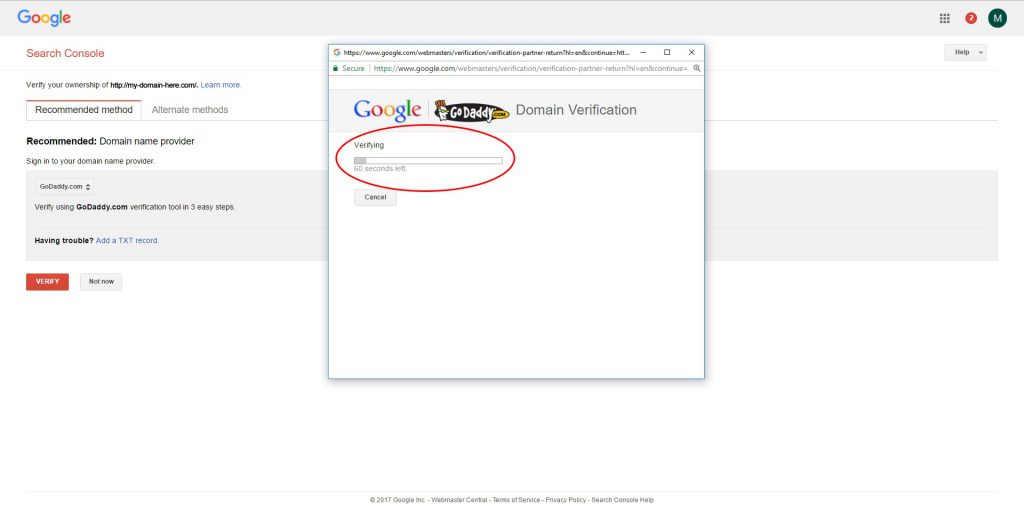
Step 6. Google will verify your account.
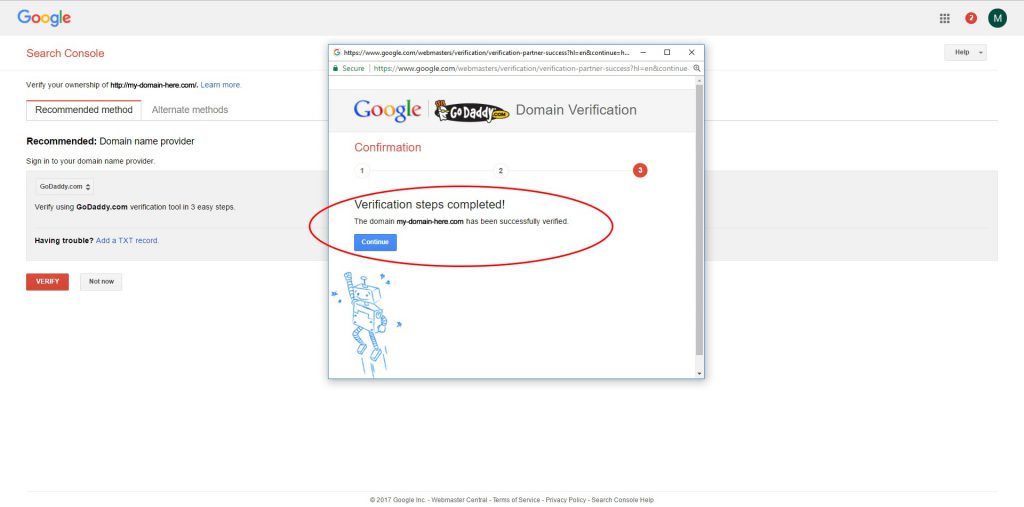
Step 7. When the verification process is complete click Continue.
Copy Your Video Sharing DNS Name
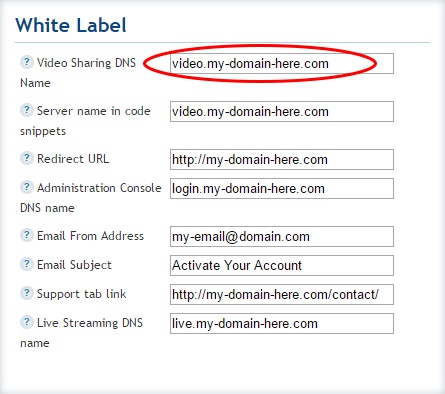
Step 1. Go back to your EZWebPlayer account and click on the MY ACCOUNT header navigation.

Step 2. Scroll down to the White Label section and copy your accounts Video Sharing DNS Name.
Add Your Video Sharing DNS Name To Google Webmaster Tools
Step 1. Now in your Google Search Console lets add it as a second property. Click on the ADD A PROPERTY button to add your Video Sharing DNS Name to your Google Search Console account.
Step 2. paste in your Video Sharing DNS Name.
Step 3. Click Not Now.
Attach Your Sitemap To Your Video Sharing DNS Name Property
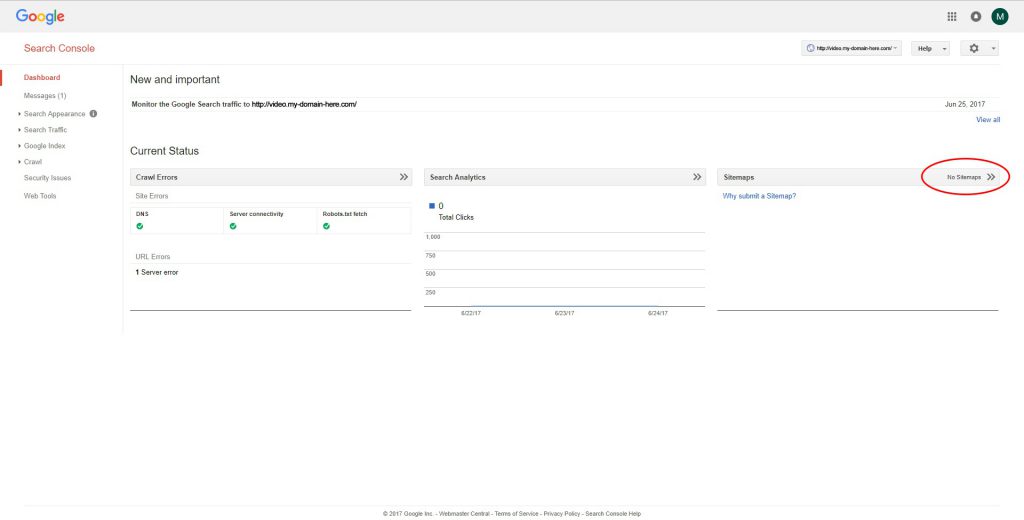
Step 1. Once you have added your Video Sharing DNS Name property to your Google Search Console, you will then be able to add a sitemap to that property. Click on No Sitemaps.
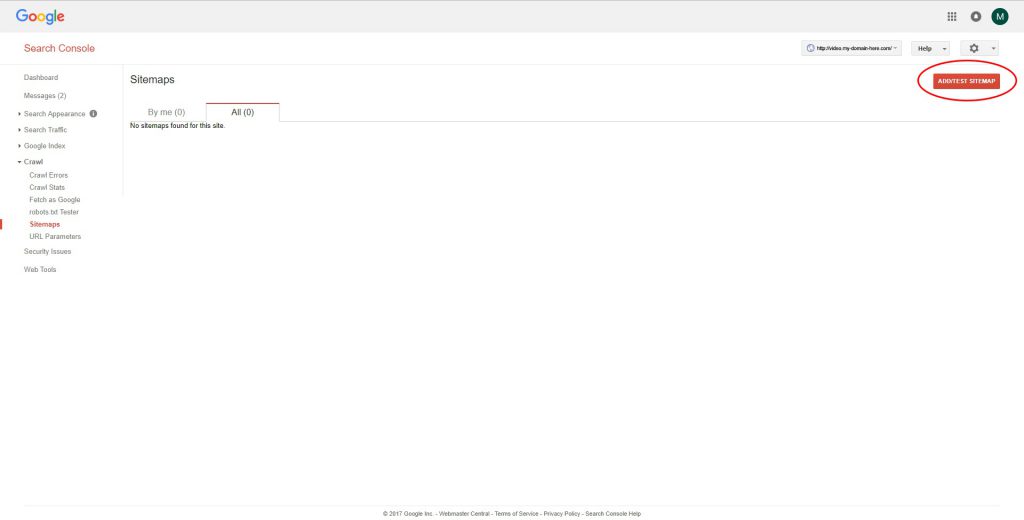
Step 2. Click ADD/TEST SITEMAP.
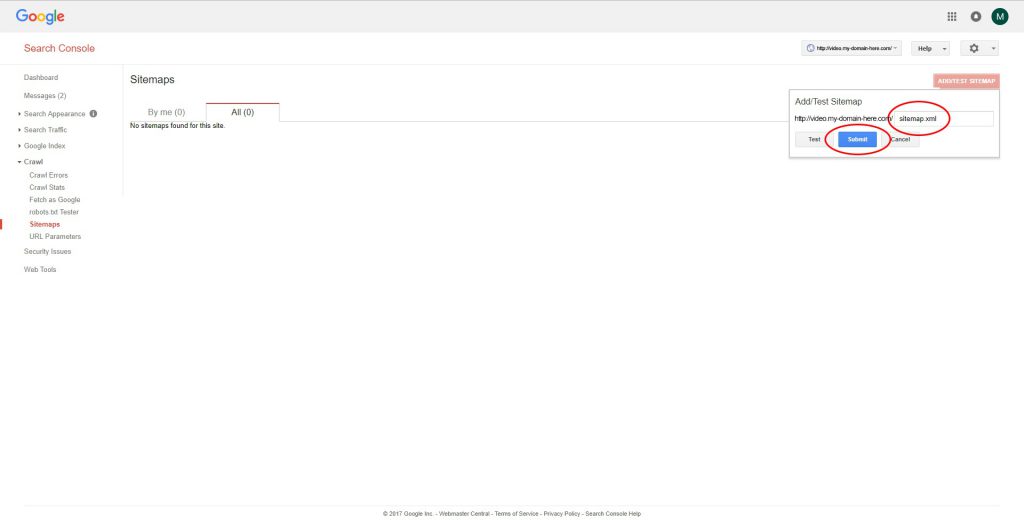
Step 3. Currently your sitemap.xml should be at the root of your Video Sharing DNS Name. You should be able to input “sitemap.xml”, then click on the Submit button.
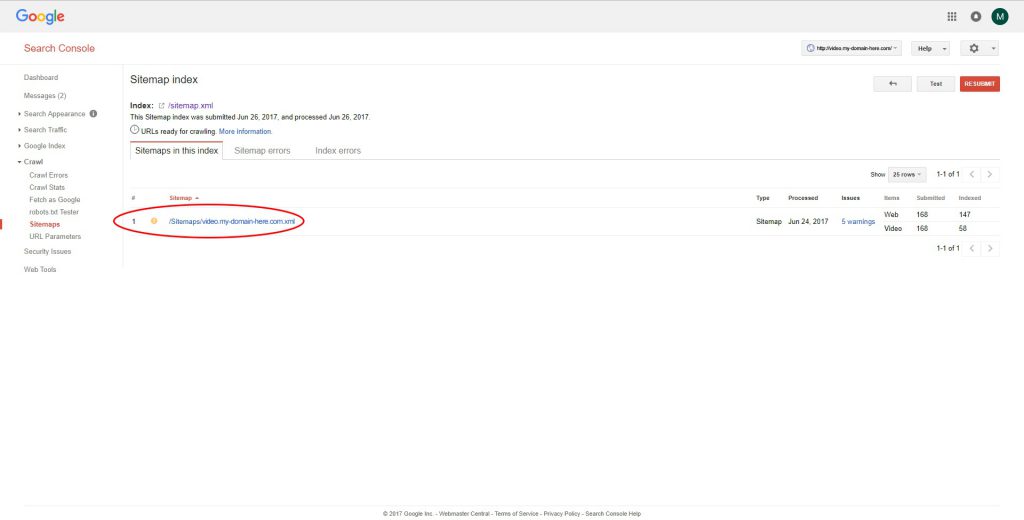
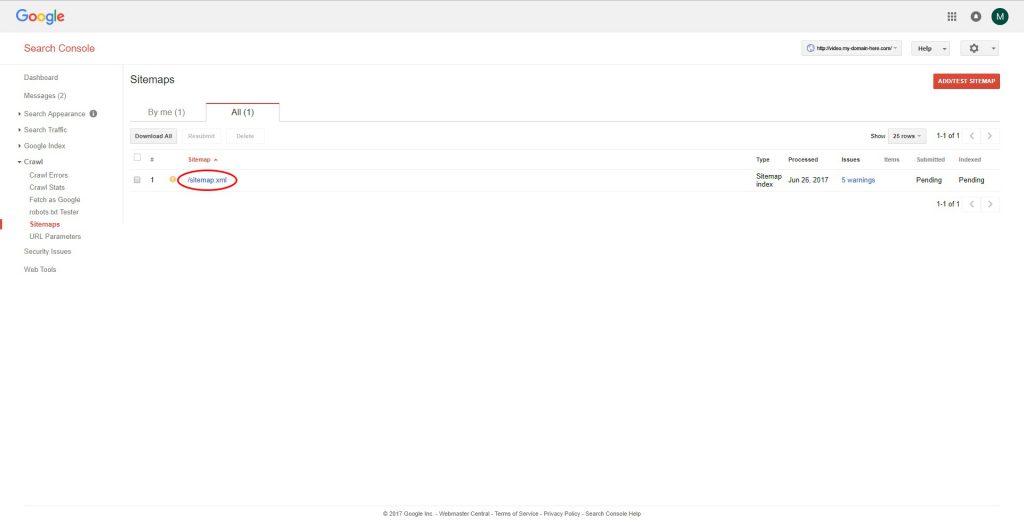
Step 4. Your EZWebPlayer Video Sitemap is now published to google and your videos should start showing up in people search results with in the next few days. You can then click on the “/sitemap.xml” link shown below to see how your videos are indexed.
Step 5. Because your sitemap.xml file is hosted over at EZWebPlayer, it will update on it’s own as you add videos to it. A sitemap can only hold so many records so we take care of that headache for you. Your sitemap is a list of video sitemaps. When one fills up a new one is added to your sitemap.xml automatically. So you only have to submit it to Google this one time, and we take care of the rest for you. We make it E – Z!