Availability Per Account Type
Trial
Lite
Pro
White Label
WL – Custom
Introduction
Uploading a video (or adding a video), starting a live stream or creating a new player all start with the ADD NEW VIDEO button at the top of the control panel when you roll over the VIDEOS button. This ADD NEW VIDEO button also shows up other places, but this location is the quickest to get to upon logging in and easiest to show others as well. Upload your videos whenever you need and as many times as you need.
Getting Started
Step 1. Roll over the VIDEOS link and click on ADD NEW VIDEO.

Step 2. Click on Upload.

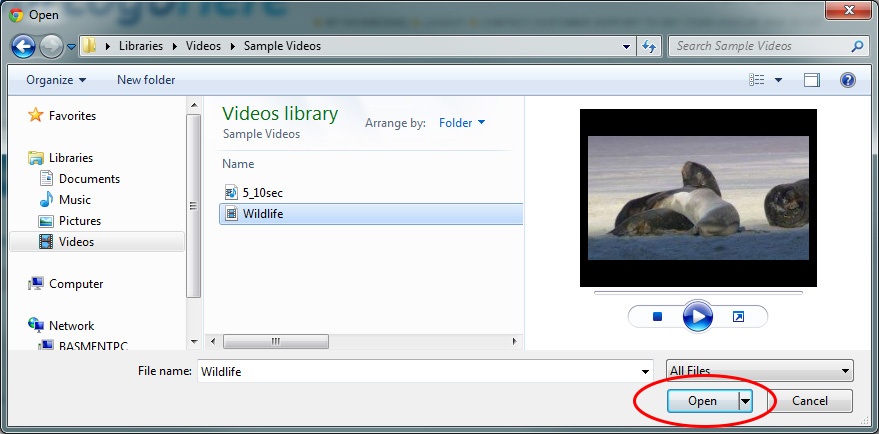
Step 3. Choose your video and click Open.
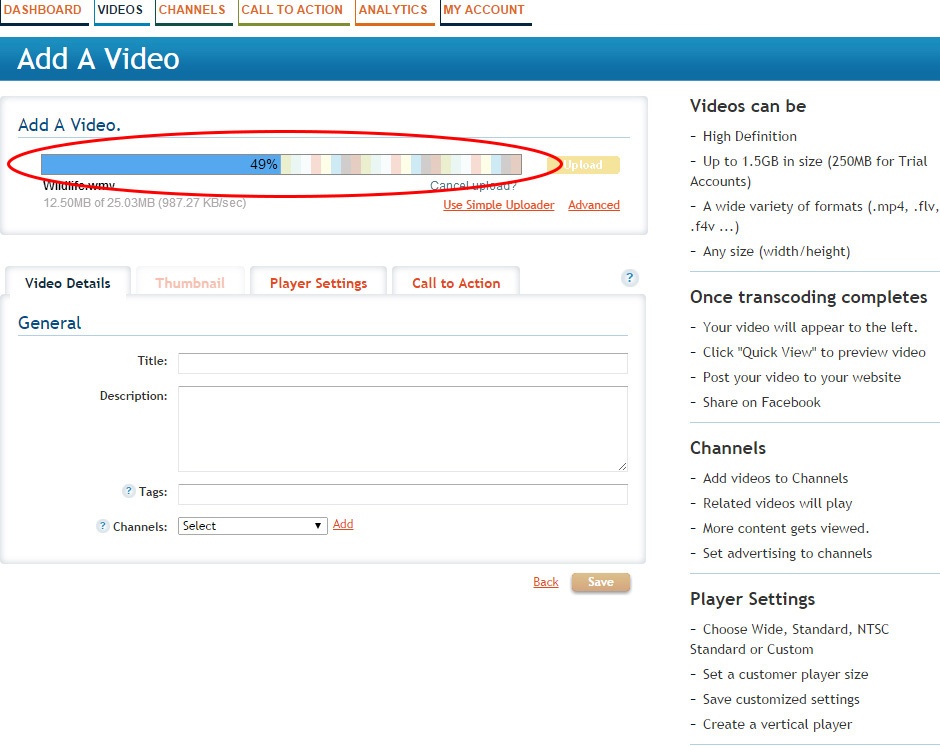
Step 4. The uploader displays your upload progress.
Suggestion: During video upload and transcoding is a good time to enter Video Title, Description and SEO tags. You can also choose a Channel or click on the Player Settings tab and make changes. Always remember that you can perform other tasks on your computer while uploading and transcoding is occurring, but if you close the browser during the uploading, that process will be stalled and deleted. You can always open a second browser tab during uploading to accomplish other web tasks while uploading continues.
Step 5. When the upload has completed, your video will then be transcoded to the most appropriate form for streaming over the web. The time it takes to complete uploading and transcoding depends entirely on the size of the file and the available bandwidth between your computer and our servers.
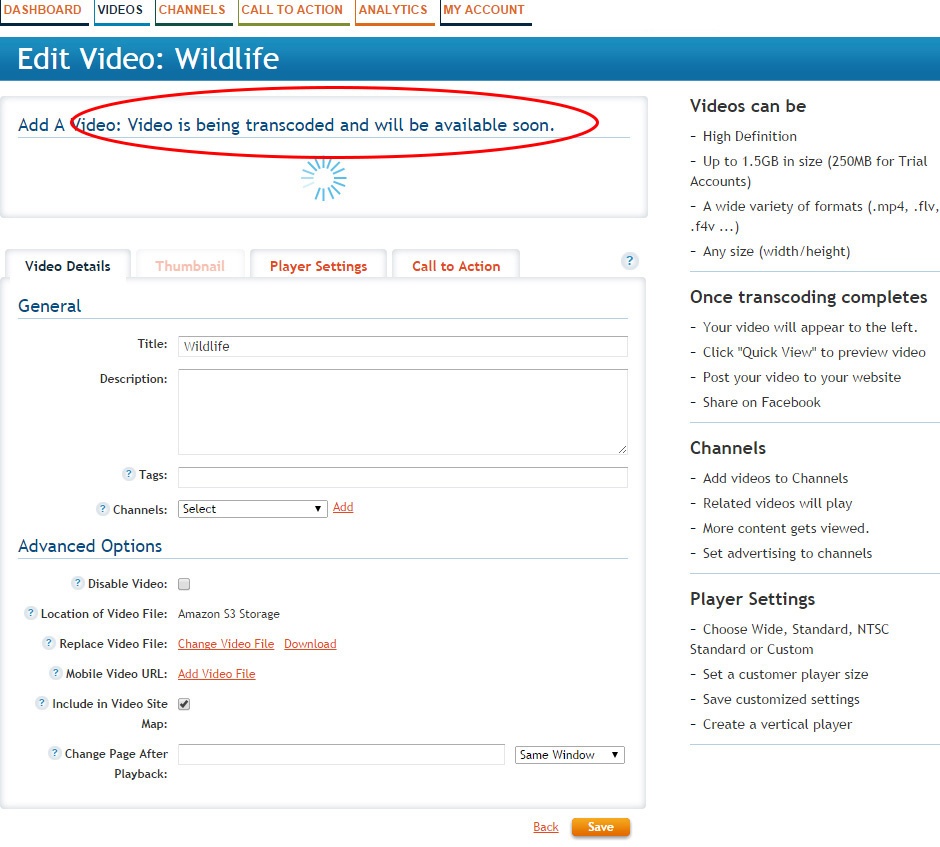
Step 6. When the process is complete make sure to click Save.